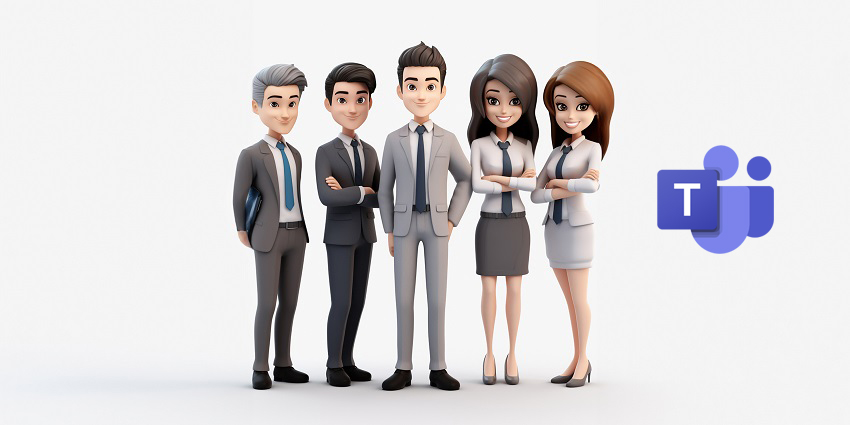
Originally announced in 2021, the Microsoft Teams avatar feature offers meeting attendees an alternative way to engage in meetings without sharing video. This functionality gradually began rolling out in 2023, alongside updates to Microsoft’s Mesh platform and the Teams client.
Ultimately, avatars ensure you can still be “present” in a video meeting when you feel a little camera shy. After all, while video meetings are a staple of the modern workplace, we don’t all feel comfortable on camera. In fact, staring at your own face on a screen for too long can be exhausting.
Plus, avatars give you a handy alternative if your camera isn’t available or working properly. They animate based on vocal cues (and emoji reactions), so you don’t need a webcam at all.
Here’s everything you need to know about creating and using a Microsoft Teams avatar.
How to Enable the Microsoft Teams Avatar Feature
The first step in using a Microsoft Teams avatar is making sure they’re enabled. The avatar app, powered by Microsoft Mesh, is available to anyone with the following licenses: Teams Essentials, Microsoft 365 Business Basic/Standard/Premium, Office 365 E1/E3/E5, and Microsoft 365 E3/E5.
However, administrators do need to enable the feature. Admins can control who can use avatars in their company with policies. By default, Microsoft applies the “Global” policy to everyone in your organisation, but you can adjust settings using the following steps.
Enabling the Microsoft Teams Avatar App
If you want to make avatars available for a specific group of users, you’ll need to create an “app setup policy.” To do this, log into the Teams admin centre, then click on Teams Apps > Manage Apps. Search for Avatars, then click the “Allowed” option.
Next, head to Teams Apps > Setup Policies and choose the policy you want to edit or click Add to create a new one. Under the Installed apps section, click Add apps, then search for Avatars and click Add. Finally, save the policy.
At this point, you can also choose to “pin” the app for users by toggling User Pinning. This will just make it easier for users to find the app when they’re using Teams.
Microsoft also recommends ensuring the following endpoints allow traffic on the 443 and 80 ports within your firewall or proxy server:
- *.office.net
- *.office.com *.microsoft.com
If you want to block certain users from accessing the Microsoft Teams avatar feature, go back into your Permissions Policies in the Teams app section and select Block specific apps under the Microsoft Apps section. You can then add users to a policy to prevent them from creating avatars.
How to Create a Microsoft Teams Avatar
Once your admin has enabled the Microsoft Teams Avatar app for you or your organisation, you’ll need to install it from the Apps section on the left side of Teams. Then, you’ll be ready to create your own avatar.
You’ll need a device with at least a two-core processor and 6GB of RAM. However, Microsoft recommends a four-core processor and 8GB of RAM for the best results.
Each Microsoft Teams account allows you to create up to 3 different avatars, which is handy if you want to create different versions of yourself for different types of immersive meetings.
The good news is you don’t have to be a professional designer. Microsoft gives you a bunch of “base avatars” you can customise to suit your needs. To begin:
- Click the Apps button on Teams.
- Search for Avatars and select Create New
- Choose a base avatar, and select Use avatar to customise it
If you’ve already created a Microsoft Teams avatar, you can also duplicate it by selecting the avatar and clicking Duplicate.
How to Customise Your Microsoft Teams Avatar
Once you have your base avatar, you can start customising with a range of body shapes, facial features, hairstyles, and other features. After clicking Use Avatar on the base model you’ve chosen:
- Customise your body shape: Click on the body shape button on the left-hand side and use the slider button to experiment with different shapes. You can discard your choices and start again if you’re not happy with how it looks.
- Adjust skin tone: Select the Skin tone button in the Body tab and select an existing tone, then adjust with the slider at the bottom of the window.
- Change your facial features: In the Face section, select a base face shape, then use the slider tools to fine-tune everything. The arrows allow you to flip through different facial features, such as cheekbone width and fullness. You can also customise your eye shape and colour, nose, mouth, and ears.
- Style your avatar’s hair: The Hair tab allows you to adjust your avatar’s hairstyle, facial hair, eyebrows, and hair colour.
- Apply makeup: In the Appearance tab, you can choose to add lipstick, blush, eyeliner, and eye shadow to your avatar. You can also add a Bindi or face lines.
- Dress your avatar: The Wardrobe tab allows you to browse a selection of underlayer clothing, outerwear, hats, and glasses.
While you’re customising everything, remember you can use “filters” on the Microsoft Teams avatar creator to search for specific options. Plus, the scroll wheel on your mouse will allow you to zoom in and out on your avatar’s preview. Alternatively, you can use your mouse to get a 360-degree view.